

A website prototype is vital for testing your digital idea before final creation. Both aspiring and professional developers need to understand how to create one.
This guide explains the steps you need to build effective prototypes from scratch. It covers the tools and testing methods you require to have a successful live website.
Website prototypes help visualize the final design, but turning them into a live site requires the right platform. Website builders make it easy to create responsive, functional websites without coding skills. Check out our recommended website builders to bring your website prototype to life efficiently.
Prototype and Launch Your Website with Top Builders
| Provider | User Rating | Recommended For | |
|---|---|---|---|
| 4.6 | Beginners | Visit Hostinger | |
| 4.4 | Pricing | Visit IONOS | |
| 4.2 | Design | Visit Squarespace |
What is a Website Prototype and Why is It Essential?
A website prototype is an early website model created before final development. The purpose of this model is to test the site’s layout, design, function, and user experience. It is more like the map you follow to create a real functioning website.

Prototypes enable designers to experiment with different ideas and concepts. It assists them in detecting possible problems early in the design process. This approach prevents them from making costly mistakes. It also makes the development team have the same vision.
The Core Benefits of Prototyping
The following are the benefits you can get by using prototypes:
- Identify issues early: Prototypes enable you to detect and solve problems early. This will aid you in achieving a better end product.
- Accelerate development: A solid prototype makes the development process faster. It also prevents backtracking by getting stakeholders to approve a solid model. Developers can check the prototype to understand what they need to build.
- Improve user experience: You get a more effective UX design by testing prototypes with real users. You get to adjust the design based on actual feedback. This is to make sure that it satisfies your target audience.
- Improve communication: Prototypes allow clients and the team to know what the final product would look and feel like. A clickable prototype makes the picture clearer. Interactive prototypes demonstrate a user flow.

They present the entire experience that your users will go through.
Wireframe vs. Mockup vs. Prototype: Understanding the Differences

Many people often mistake these terms for each other. However, they are different stages of the design process.
Wireframes focus on only the website’s structure and arrangement of content. They don’t have fancy colors or fonts. They are just the main framework that shows where everything goes.
Mockups are the visual representation. They add the real colors, typography, images, and branding elements. They show stakeholders how the fully developed website will look. The only thing is that you can’t click or interact with them.
Interactive prototypes contain clickable buttons, working forms, and realistic navigation. These elements bring mockups to life. They are the link between static designs and the completed website.
The table below compares these three approaches:
| Feature | Wireframe | Mockup | Prototype
|
| Purpose | To define the basic structure and layout of a user interface. | To picture the design and layout of the user interface. | To test and show how the user interface functions. |
| Level of Detail | Low | High | High |
| Visual Appearance | Simple and basic | Detailed and polished | Detailed and polished |
| Interactivity | None or limited | None or limited | Full |
| Time and Cost | Quick and low cost | Moderate cost and time | Higher cost and time |
| Definition | A low-fidelity prototype defining structure and layout, shaping user flow without design details like colors and fonts. | A high-fidelity, static visual illustration showing the look and feel of the final product. | A working design or product model to test and validate low or high-fidelity prototypes. |
How to Create a Website Prototype in 7 Steps
Now, let’s get to explaining how you can create a website prototype in seven steps.
1. Understand Your Goals and Conduct Thorough Research
![]()
The first step is to research to understand the needs of your target audience. This research will also help you learn more about competitors.
Many designers often skip this step and go straight to creating visually appealing interfaces. However, it is the foundation for your prototype to suit the user’s needs and business goals. This way, your project has a greater chance of succeeding.
Conduct User and Market Research
You can conduct your research in two ways:
- User research: Conduct interviews or surveys with potential users. Directly ask them what their current problems and frustrations are. This will enable you to know their pain points and the features they need.
- Market research: Conduct research about your target market to guide your design. This analysis will enable you to detect trends, openings, and industry standards. Check your competitor websites to see what works and find gaps your website could fill.

User research may show that your audience uses mobile devices, or they focus more on speed. You will need these discoveries to make the next decision in your prototype.
Define User Personas and Journeys
Use the information obtained from your research to do the following:
- User personas: Create profiles for different types of users. This will ensure your prototype design meets their specific needs.
- User journeys: Map out the steps users will take on your website. This will help you identify potential problems and improve the overall flow. Think about the path they will take to complete a goal from their first visit.
You must understand user flow to prioritize which screen sizes and interactions to include.
2. Define Project Scope and Information Architecture

This step involves defining the goal of your prototype. It also involves how you will structure your site’s content. You must balance time, cost, and resources to define the scope properly.
This definition prevents the scary “scope creep.” This is the situation where projects outgrow their original boundaries. You can be sure of moving forward when everyone agrees on the final features.
Determine the Project Scope
Think about your overall goal and target audience to decide the prototypes’ level of interaction. You should also consider the desired functionality to decide on the details. This step defines which features you will include in each development phase.
Know whether you are prototyping the whole website or only key sections. Determine whether you will show desktop and mobile versions. Know the number of user scenarios you will show. Making these decisions will influence the timeline and budget of your project.
Namecheap
Establish the Information Architecture (IA)
Information architecture provides details for your website’s navigation and entire structure. You can use card sorting or tree testing to resolve how to organize information. These tools are vital for creating a natural user experience.

Good IA helps users to find what they need without thinking about it. In contrast, poor IA creates confusion and frustrates the users. It doesn’t matter whether your visual design is beautiful.
Start by creating a list of all the content and features your website needs. Then, put related items in the same group. Next, arrange these groups in an order that makes sense to users and your internal team.
3. Create a Low-Fidelity Prototype (Wireframe)
A wireframe is a low-fidelity prototype created before serious designing begins. This prototype is a visual illustration of your website’s structure. Start your wireframe by making rough sketches on paper. This will enable you to check layouts and concepts without the polished details.
Paper sketching is still helpful in this digital age. These sketches let you test different ideas quickly. This approach also supports creative thinking without the software features.

Many designers use the “Crazy 8s” technique for this process. This technique involves sketching eight different layout ideas within 8 minutes. This speed helps you check out possible options before taking one direction.

Best Practices for Wireframing
Focus on the entire layout, content ranking, and paths for user navigation. Use templates or grid systems to create a more organized layout. This layout will show well on different screen sizes.
Think about what information users should see first and last. Make plans for how they will move from each section. Add basic shapes and placeholder text to keep the wireframe simple.
You should also include simple navigation elements. You can decide to add colors or detailed graphics later.
Create wireframes for key areas like the homepage, product pages, and contact forms. You can do this for any other vital user touchpoints. Don’t feel like it is compulsory to wireframe each page that follows the same patterns.
4. Design High-Fidelity Prototypes (Mockups)

The next step after creating the final structure is to create high-fidelity prototypes. These prototypes showcase the visual design layer. They help stakeholders understand the look and feel of your end product.
High-fidelity mockups are the link between wireframes and interactive prototypes. They set the rules for the visual language that will guide the final development. They are also faster to create than complete interactive versions.
How to Create Realistic Visuals
Start with a style guide that shows your color palette and spacing standards. It should also define your UI components and typography choices. Doing this every time will make your prototype look more professional.
Here is how to create visuals that look real:
- Choose a design style: Select the visual elements you need. These should be elements that suit your brand. They should also align with what your target audience prefers. Think about factors like what the industry expects, user demographics, and the abilities of the device.
- Create a visual ranking: Guide the user’s eye using font size, color, and whitespace. These elements will also highlight important information to support user goals.
5. Bring It to Life: Creating Interactive and Animated Prototypes
This is the core phase where you make your static design function. Linking different screens with triggers and actions will create interactive components. This makes prototypes feel like real websites or mobile apps.
This process is even easier with modern prototyping tools. You can create interactions that effectively communicate your intent without coding skills.
Adding Interactions

To add interactions, select an object like a button. Then, define a trigger like tap, drag, or hover. Next, connect it to a destination screen. This will help to create a realistic user flow. Start adding the most important interactions. These are usually navigation and primary user actions.
You can create more than one flow with most tools. This will enable you to show different user journeys from the same design file.
In addition, you should think about micro-interactions to make your prototype look real. Think about how buttons will respond when users hover over them. Consider what happens when a user submits a form.
Defining Triggers and Actions
Choose triggers that match the user’s interactions with the final website. The common triggers include:
- Tap or click
- Press
- Swipe
- Drag
- Hold
- Time delay
- Voice commands
- Keyboard input
Action Types:
- Transition: The user moves to a new screen or section.
- Auto-animate: It creates smooth animations between screens.
- Overlay: It puts a frame on top of the current screen for menus or alerts.
- Scroll to: It creates anchor links for going through long pages.
Consider the context for using your prototype. Focus on touch-based triggers if you’re mainly designing for mobile devices. For desktop users, add hover states and keyboard navigation.
Perfecting Animated Prototypes
Make transitions look more polished and natural with acceleration and deceleration. Set the right duration for animation. You can use tools like Figma to control timing effects from 1ms to 10,000ms.

Keep previewing your animated prototypes to test interactions. Then, record them as MP4 videos. This will enable you to share them with stakeholders who can’t access your prototyping software.
Subtle animations provide visual feedback and guide user attention. This animation helps to improve UI design. However, avoid using too many animations to prevent distractions.
6. The Crucial Step: Gathering Feedback and User Testing
The next step is to gather feedback through user testing for adjustment. This process helps to identify bugs and specific issues. In essence, it finds other areas that need improvement from the angle of an end user.
User testing often shows whether what designers think is natural works for real users. You can find major problems with even simple tests among 5 to 6 participants.
Different Ways of Gathering Feedback

Let’s look at the different ways to gather user feedback:
- Define goals: Know what you want to learn from users. It could be the ease of use or whether the design meets their needs.
- Choose a method: Combine user testing sessions, focus groups, and online surveys. This will help you get detailed feedback from different points of view.
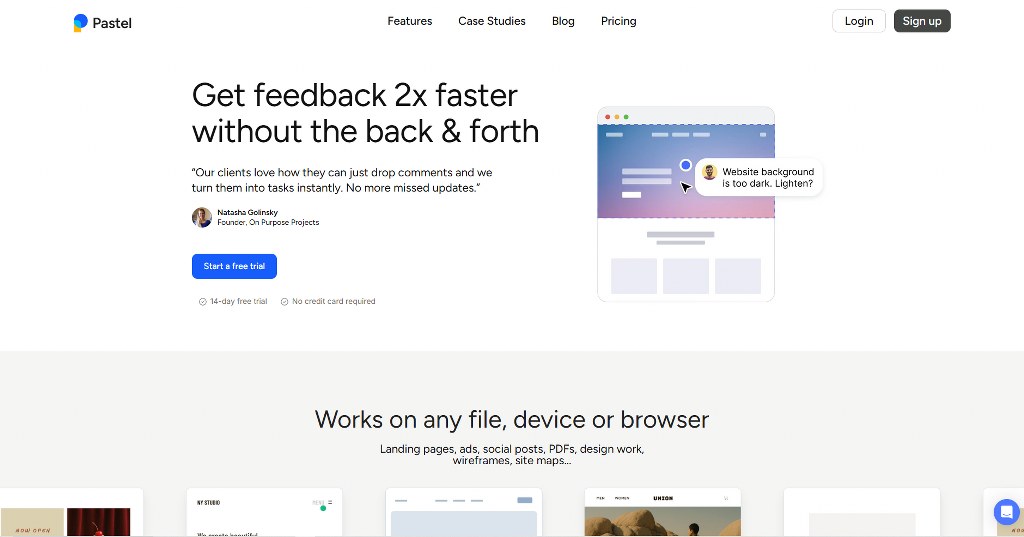
- Use feedback tools: Gather feedback faster with tools like Ruttl or Pastel. These tools allow testers to leave direct comments on specific parts of your prototype.
- Analyze feedback: Look for patterns and common issues to know what you need to change.

Usability testing works best when you look at users completing real tasks. Watch where they pause and what confuses them.
Remote testing tools now provide a quick and easy way to gather feedback. This is especially helpful for reaching users in different locations. They enable you to test with people who match your target location.
7. Refine and Prepare for Final Development
This final step involves adjusting your prototype based on user feedback and testing results. You must keep repeating this process until it meets all user and business goals.
The Iterative Refinement Process

Modify the layout, design or functionality based on the feedback you receive. Test the modified prototype again to make sure you have enhanced the user experience.
Adjust all UI elements to create interactive prototypes. These elements include buttons, forms, menus, and error messages. Ensure that they work for different scenarios and user journeys.
Pay attention to what happens when users input incorrect information. In addition, find out what happens when they lose the internet connection or attempt to access blocked content. Your prototype must offer solutions to such situations to put you in the right direction.
Preparing for Hand-off
Your prototypes become the building blocks for the final creation after these changes. Arrange your files and document any specific requirements. Ensure your developers get everything they need.
Discuss how to include and test any necessary back-end function. This includes databases or server-side processing. Create a document explaining interactions, animations, and any hidden complex behaviors.
Choosing the Right Prototyping Tools

Many professional software and online tools can help you create the perfect prototype. However, you must consider some factors to choose the right tool. These factors include the size of your team, budget, and technical needs.
Lone designers can work with free tools. Meanwhile, larger teams often gain more from paid platforms with robust features.
Popular Tools for Website Prototyping
Before choosing a tool, you need to think about its learning curve and features for collaboration. You should also consider its options for exporting projects. Most importantly, think about how it integrates with existing tools. Here are some popular tools you can use:
- Adobe XD: The tool is an effective design software for making prototypes interactive. It provides features like voice commands, auto-animate transitions, and various sharing options. It is part of the Adobe Creative Cloud suite. This enables it to fit in with other Adobe products.
- Figma: This is a popular, web-based platform. It is popular for providing real-time collaboration and component libraries. It also offers complete prototyping features. In addition, many people can edit the same file at once.
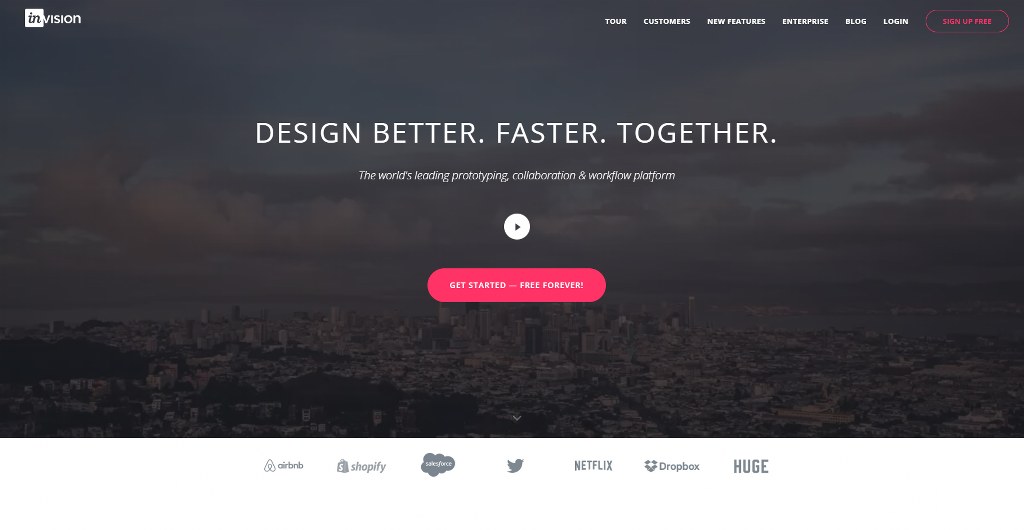
- InVision: This is a widely used platform for creating interactive mockups. It offers an option to share these projects with teams and clients to gather feedback.
- Sketch: This is a vector graphics editor for macOS. This tool is popular for UI/UX design and works well with many prototyping plugins.


From Prototype to Live Website: The Final Development Stage
The next step after approving your prototype is to build a live website. It would help to have a detailed prototype for a smoother final development phase.
Your prototype is the quality control tool for this phase. Developers can check it to understand the behaviors to expect. You can also compare it with the live site to ensure everything is intact.
Beginners can start with simple and user-friendly website builders for beginners. Hostinger and IONOS are good options with drag-and-drop interfaces. This feature allows you to create a live site without writing code.
You can also try WordPress or hire a developer for complex projects. As for skilled developers, you can meet them on freelance platforms like Fiverr and Upwork. Both options give you unlimited access, but you need some technical knowledge to use them.

Whichever method you go with, your site needs the best web hosting provider. Your provider ensures your website is secure, fast, and always available.
Above all things, add your images, animations, and interactions correctly. This will improve your site’s performance at the beginning. The final website also needs proper meta tags, image alt texts, and structured content.
This will enable search engines to understand its content for SEO ranking.
Conclusion
Creating a good website prototype requires you to keep testing and changing your design. It will save you money and time to start with low-fidelity wireframes and complete it with interactive prototypes.
The main goal is for your final site to serve your business and user needs. In addition to this, you should make plans for maintaining your website.

Next Steps: What Now?
Follow these steps to create an effective prototype:
- Research to understand what your target users need.
- Define the goal of your project.
- Make plans for how the structure will look.
- Create a low-fidelity wireframe.
- Build high-fidelity mockups.
- Add triggers and animations to make the prototype interactive.
- Conduct user testing to confirm the site’s ease of use.
- Gather feedback and make corrections accordingly.
- Finalize the design.
- Create a live site using reliable web hosting.
Further Reading & Useful Resources
Here are more resources for you:
- Create a Website with a Phone: Learn how to create a functioning website on your smartphone.
- Principles of Homepage Layout: Understand the essential principles of a homepage design layout.
- Businesses Needing a Website: Identify the businesses that need a website for proper pitching.
- Website Backup: Learn how to backup your site to protect its content.
- Images for Website: Identify the places to get images for your website designing.

